Setting Up the Environment#
Overview - Deepchecks Monitoring Structure#
Deepchecks Monitoring can be used using via SaaS, as an open-source, and with a managed on-prem solution. Check out the different tiers if you want more info about the licensed versions, or contact us at info@deepchecks.com.
There are two parts to the system:
The client side (the
deepchecks-clientPython SDK), for interacting with the monitoring app: you should install it in all cases.The monitoring service itself (UI, backend, etc.), which is built of several docker containers and deployed with docker-compose: you need to install it only if you’re using the open-source self-hosted version.
The installation for each of the two parts is independent, and this guide includes a step-by-step tutorial for both options. Step #2 is the local installation of the monitoring service, which you’ll skip if you’re not working with the open-source deployment.
Installation and Setup Steps#
In order to work with Deepchecks Monitoring, you need to:
Install the deepchecks-client with pip, which installs the SDK for interacting with the app, along with the Deepchecks Testing package.
Deploy the self-hosted open source instance of Deepchecks Monitoring app (Only for open source deployments).
Log in to the Deepchecks Monitoring app and Create an organization or join an existing organization
Obtain your API key from the app
Step #1: Install deepchecks-client with pip#
deepchecks-client is a Python package which contains the SDK for interacting with the monitoring app.
Its installation will install also the Deepchecks Testing package (named deepchecks)
which includes core functionalities that are used by the deepchecks solution. In addition deepchecks is useful when exploring existing issues
(e.g. when using the “download” feature to further research the issue in your local environment).
To install, use pip with the the following command:
pip install deepchecks-client --upgrade
Step #2: Deploy the self-hosted open source#
If you’re using the SaaS version, you can skip this step.
If you wish to self-host the deepchecks open source monitoring app, jump over to the self-host deepchecks monitoring installation instructions, and continue to the next step once you’ve completed the local installation and can open your local deepchecks monitoring instance.
Step #3: Create or join an organization#
For SaaS usage: following an invite mail (sign up to our invite system at the Deepchecks Website, or contact us at info@deepchecks.com), you’ll be able to join a new organization. Then, head over to the deepchecks host URL (e.g. https://app.deepchecks.com or your unique url if received) to start exploring.
For open source: create a user and organization and log in to the deepchecks UI, hosted at the url you’ve chosen during installation (default is http://localhost).
Step #4: Obtain your API key#
To start working with deepchecks, you must first create a
DeepchecksClient object.
To do that, you will need go generate a personal API token using the application’s dashboard:
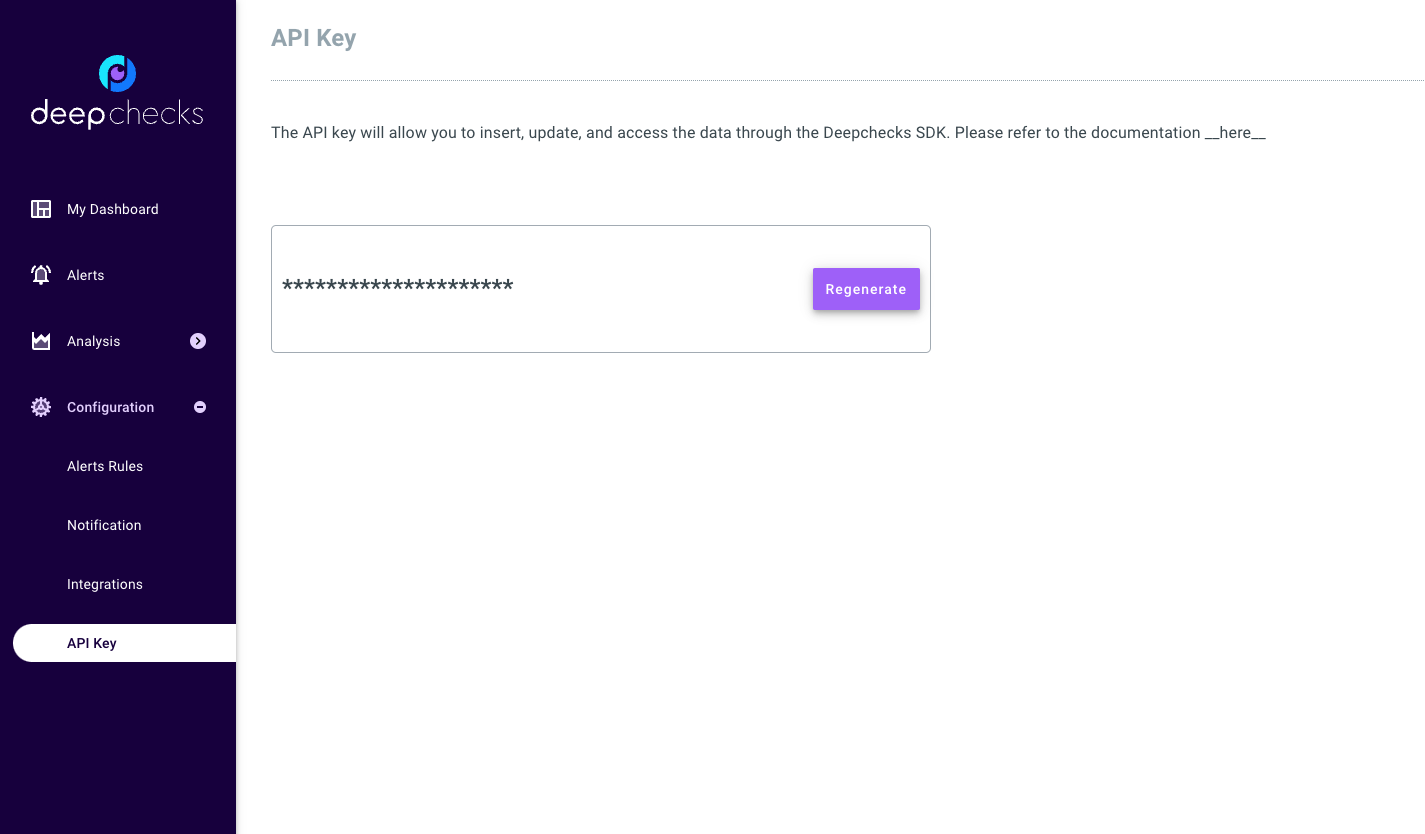
Note: save your API key as you will be able to view it only once.
We recommend seting an environment variable named DEEPCHECKS_API_TOKEN by running the following in your terminal:
export DEEPCHECKS_API_TOKEN=replace-this-string-with-your-api-token
If you need a new API key, the “regenerate” button will create and reveal a new key. This will invalidate the previously generated key.
You can then use the following code snippet to instantiate a DeepchecksClient
and start interacting with the system.
>>> import os
>>> from deepchecks_client import DeepchecksClient
>>> # it is recommended to store the token in an enviroment variable for security reasons.
>>> # alternatively (not recommended) you can replace the os.getenv function with the value of the token.
>>> host = os.getenv('DEEPCHECKS_API_HOST')
>>> token = os.getenv('DEEPCHECKS_API_TOKEN')
>>> dc_client = DeepchecksClient(host=host, token=os.getenv('DEEPCHECKS_API_TOKEN'))
You’re ready to go!#
Congratulations, you’re ready to start monitoring your models with deepchecks!
Head over to our Quickstart or see the full User Guide to get your model & data monitoring up and running.